http://learning-in-it.blogspot.com/2014/07/nested-esxi-lab-design-thoughts.html
Now I get to do it.
The first site will be done in VMware workstation v9. I use this version because when I got the VCP certification, they gave me a free license. However, you can buy or get a trial license from the vmware.com site. I believe all trials are for 60 days.
I am using the linux version - just because i'm trying to learn linux, and there's no better way to learn than doing - but you can probably do the same things in the windows version. If you have problems running the linux version, please see this post http://learning-in-it.blogspot.com/2014/05/installing-vmware-workstation-9-in.html
First let's download the appropriate ISOs:
VMware
You'll need to setup a free account if you don't have one already. I will attach screenshots since some friends have asked me exactly what to download.
In my case I will enroll in a vSphere with Operations Management (also called vSOM) trial.

Here is where you create or login to your MyVMware account (usual activation steps required)

Make a note of the evaluation license key and let's download the required packages.

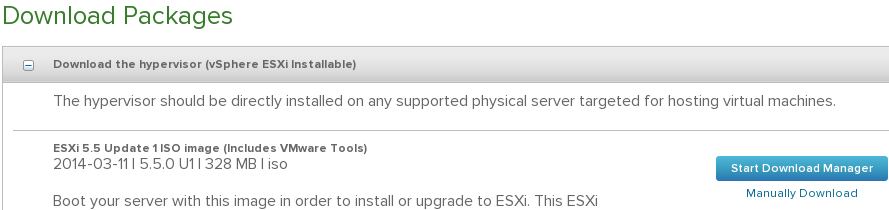
ESXi - this iso is typically around 300MB. This lab will be done on ESXi5.5. I will be actually using an older one so we can patch it once installed, but here is the image of how it looks
vCenter - this is the windows installer, we will use it on the remote site. This is typically a 3GB ISO. I will use an older version and then upgrade it with the newest as part of the lab. The windows C# vsphere client is included in this ISO, so there is no need to download it separately.

vCenter appliance. Download either the one .ova file, or the very small ovf file and both disks (check for vmdk). Why both options? OVA is a tar of an OVF. Workstation can open ovf and vmdk's directly, but it will need to unzip the OVA.

Operations management is it's own OVA file. This will be the last one we download for now.

This is basically linux based SAN software. For the main site, I will use it as a iSCSI target. It's simple and small enough (500MB download) for my purposes. I will change this in the recovery site and use NFS instead there for study purposes.
https://www.openfiler.com/
We will download the v2.99 ISO and create our own VM. i know there's a prepackaged one there, but see what I do and then decide for yourself. Cick on the community edition and the download arrow.

don't forget to read the system requirements
https://www.openfiler.com/products/system-requirements
Microsoft
We will download a trial of Server 2012 R2 to setup AD. I actually want to test an installation with no GUI for the recovery site, see how managing that works. Make sure you choose the ISO download option. You will need a microsoft related account to register.

Always important to read the system requirements http://technet.microsoft.com/library/dn303418.aspx . Note also that this trial runs for 180 days.
We will also download a SQL Server trial. We will use it with the windows based vCenter in our recovery site. VMware vCenter includes an embedded, free edition of MS SQL, but nobody uses that in a real company - it is very limited. You should involve your company's DBA to take care of your vCenter SQL DB and have it run as best as it can. Installation is tougher this way, but when you work with your DBA and tell him dbo rights are really required, you will understand why.
Important caveat - as of this writing, SQL server 2014 is not in the VMware inter-operatibility matrix - 2012 is the newest supported one.

This is the link for the 2012 trial http://www.microsoft.com/en-us/download/details.aspx?id=29066
Also read the system requirements http://msdn.microsoft.com/library/ms143506(v=SQL.110).aspx
Linux
We need some VMs. We already have the 2012 R2 installer, but we should also practice Linux. My workstation runs on Fedora, but in an effort to branch out, I will use the Ubuntu 14.04 LTS server
http://www.ubuntu.com/download/server
Al of these downloads are upwards of 12GB, so make sure you have them ready before starting the next step.